
The first of my blogs talking about what we are actually doing in class at West Dean. Our first project is to make a file cleaner–that’s a metal file not a paper file folder type file–strangely enough, making the file cleaner requires a lot of filing. In reality it would not have to involve so much filing but the point is that it is an exercise to spend time learning to use a file.
So what’s a file cleaner. For those that haven’t used a file on metals before, they do tend to get clogged up rather easily with little bits of the metal you are filing. It clogs up the teeth and renders the file more or less useless–certainly much less effective. There are commercial file cleaners made that look a lot like pet hair brushes. Well, they should probably remain to be used on pets because they don’t work very well on files. The one we are making is a piece of brass that you rub over the groves of the file and it “pushes” out the little bit of metal that are in the file groves. Being made of brass it is relatively soft so the cleaner does not dull the file.
1) Start with a piece of rough cut brass in the basic shape.
2) Cut to rough length – about 6 inches.
3) File the long edges smooth and straight. This is harder than it looks. Test it against a flat surface.
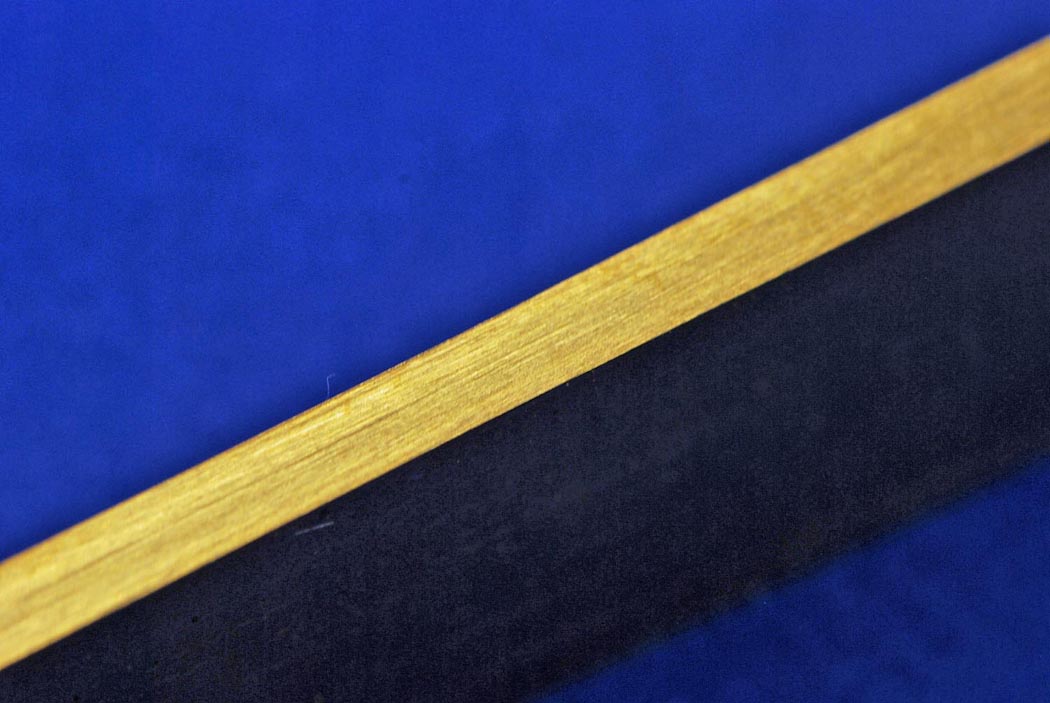
This shiny part is the edge of the file cleaner – about an eight inch thick.
4) File a taper on the end. This is tough. First get rid of material to create the taper. Then take a finer file and work on getting it perfectly flat. When finished, the line joining the taper to the thick part of the file should be perfectly straight and crisp – as you all remember from high school geometry, two flat planes intersect in a line.

This isn’t perfect yet but you can see the joint line getting sharper.
5) Mark a center line to scribe a circle in the end.
6) Drill a hole within the circle, then take a piercing saw to cut out the hole.
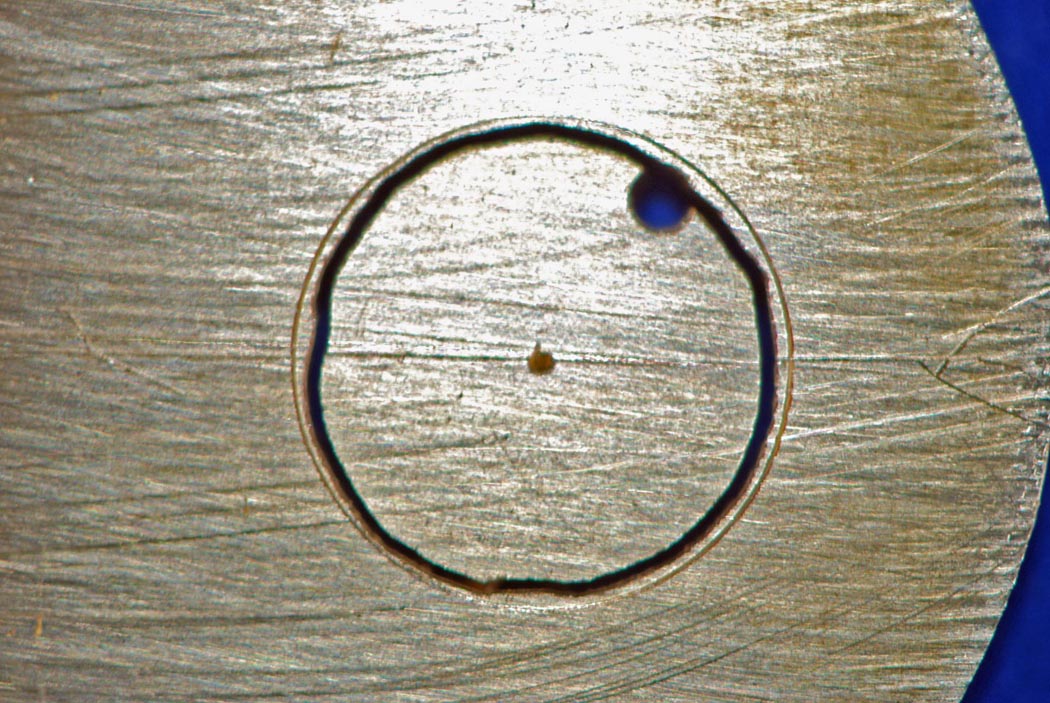
I put the piece of brass I cut out back in the hole.
7) Smooth out the inside of the hole with a crossing file and then put a final very smooth finish on it with a smoothing broach.
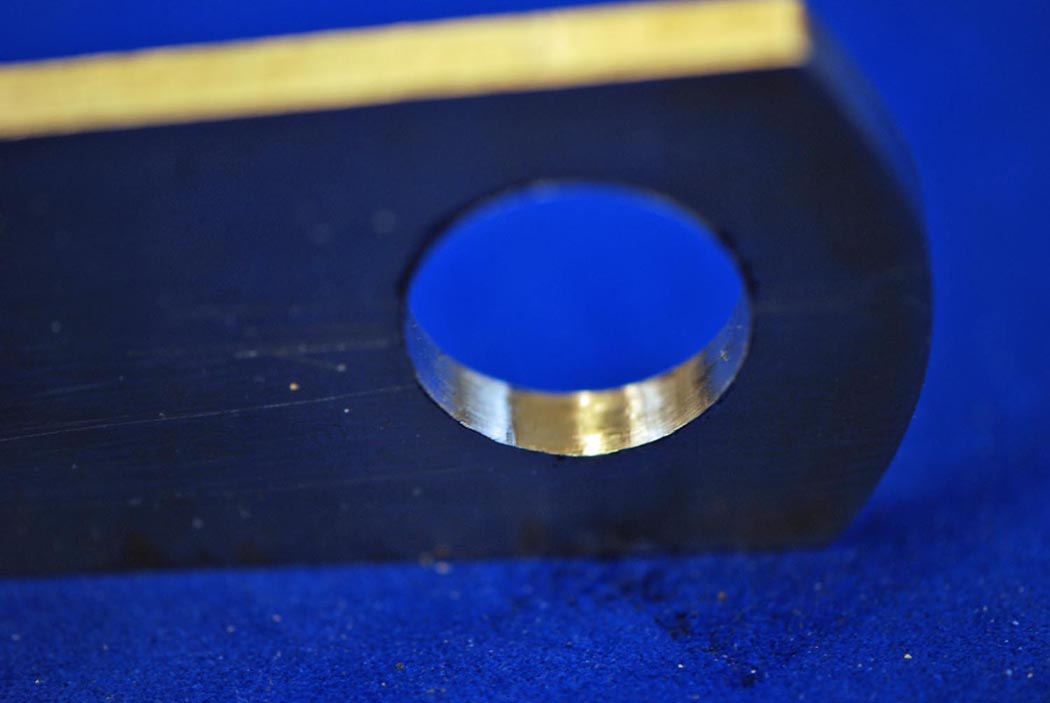
The hole should be smooth and shiny on the inside
8) Take a file to the back side of the cleaner to smooth it out and get any rough scratches off.
9) Finally, cut a chamfer on the corners to keep them from cutting your hands and give them a nice comfy feel.
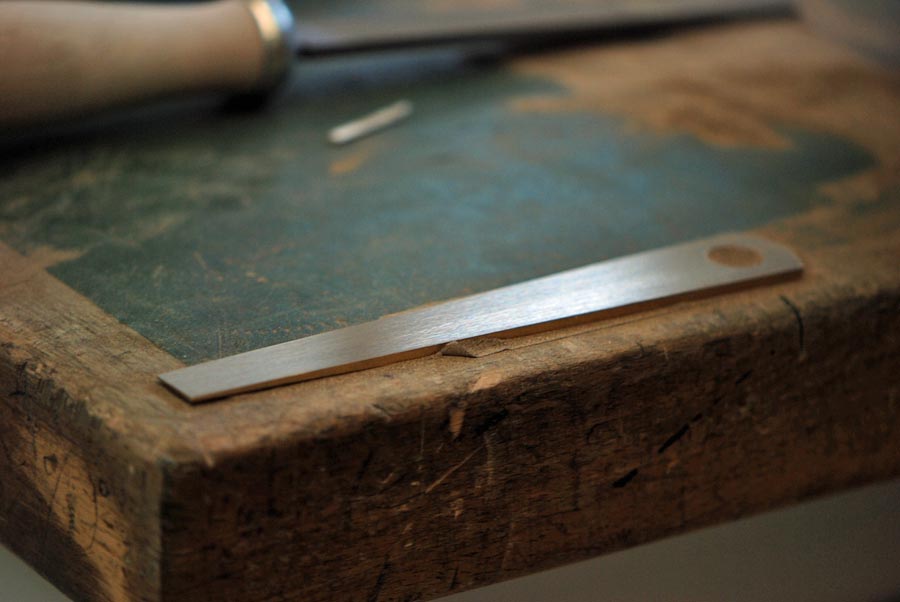
Finished! – this is the flat side.
YOU’RE DONE! – only took two weeks. (Well, we did do some other stuff too)
3 comments
This project reminds me of my dad who loved tools and machine work. Thanks for the good memory!
Wow! Incredible!
Hi Mostyn,
Your experiences at West Dean thus far certainly has me very nostalgic ! The file cleaner is an elegant and useful shop made tool. Having never seen one, I am curious as to how one uses it to clean a file.
Thank you for keeping us up to speed on the latest from you and your studies. Cheers !