
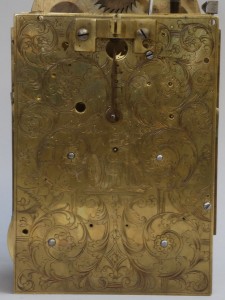
The back plate–some beautiful engraving!
This week I made a potence–actually I made both a top and a bottom potence. What’s a potence you say? Well, you know that I am working on old clocks–the origin of this word goes back to the Medieval Latin word for a crutch–basically a device used for holding something up. The top and bottom potence I made are used in my clock to hold the crown wheel in a vertical position.
I am continuing to work on the same clock that I told you about in A Precision Operation. In that post I mentioned that I was doing a verge reconversion, well, this post is a continuation of that work. If you follow my posts over the weeks, you are going to see this reconversion come together. A verge escapement consists of pallets and a crown wheel. These can be placed in a vertical or horizontal orientation but in my clock the crown wheel is vertical–actually the crown wheel itself is horizontal but the arbor (axle) that it is mounted on is vertical. The bottom of the wheel arbor is held up by the bottom potence and the top is kept in a precise position by the top potence.
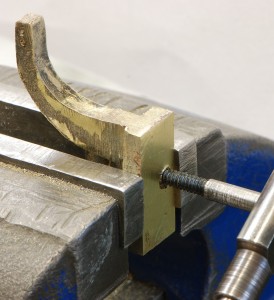
To make these I started with a large piece of cast brass. I cut off a small piece of this that was the size I needed and then kept cutting.
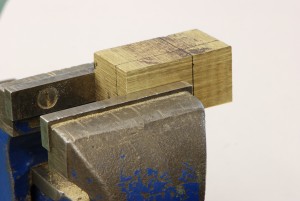
This is the piece of solid cast brass I used for the bottom potence. Making nice straight cuts with a hack saw is a patience building exercise–more like a marathon than a sprint.
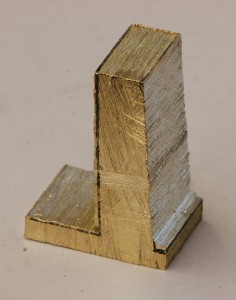
The very rough bottom potence.
Before you start cutting however, you have to make some precise drawings of the exact shape that you need. I started by laying the back of the clock (back plate) on a piece of paper and tracing it. Would you believe there are almost 50 holes in that back plate?
When you have some pieces that are roughly the shape and size you need, you then need to mount them onto the back plate in exactly the correct place.
But before you can do that, you need to have some screws to mount them with.
So, you guessed it–I had to make the screws. Now, not all screws are equal, and in the 18th century, they didn’t have the nice machinery that we have today–they made their screws with screw plates. This resulted in the shape of the threads being further apart and more rounded and since I am trying to be somewhat authentic to the period, I used an old screw plate to make the threads.
I started the screws with a piece of steel rod and cut away to the thread diameter, then, after tapering the shank a bit, I slowly rotated the screw plate onto the shank making the threads.

The tapered shank before threading.
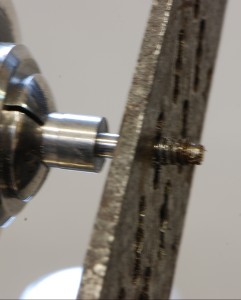
Threading the screw by slowly turning the shank into the plate.
Then it is pretty simple job to cut the screw to length and finish off the head. Of course, all things were different then and even the slot in the top of the screw head is a tapered slot meaning the slot is v-shaped rather than having sides that are parallel.
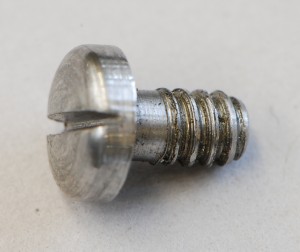
Finished screw.
I had the two potences and the screws–now to get them in the right position. This takes some careful work and understanding what all the connecting parts look like.
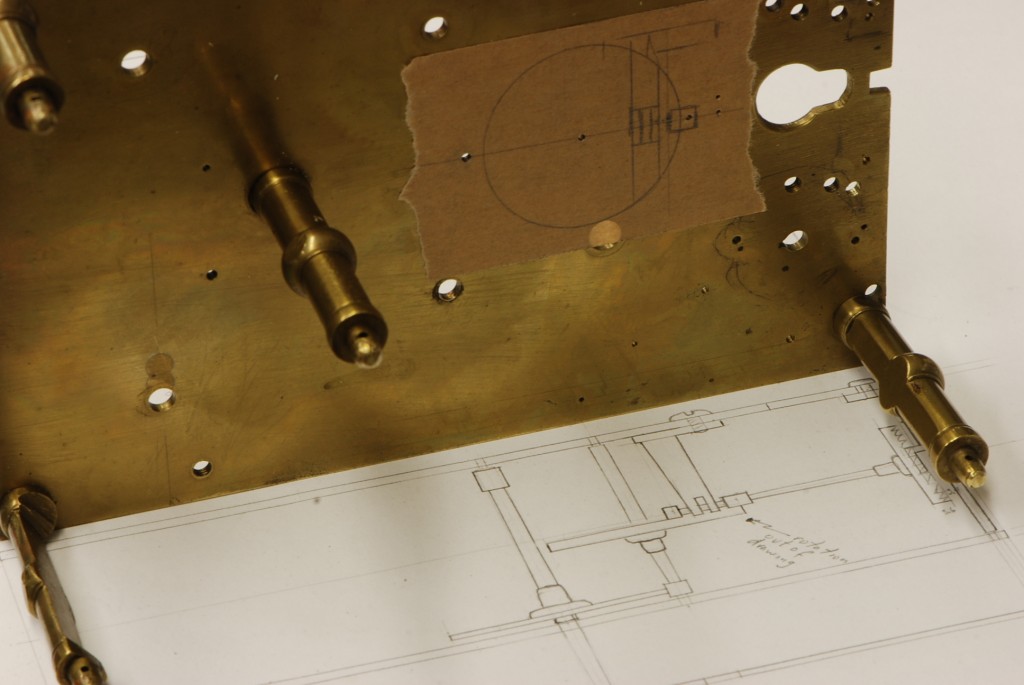
In this picture I have put the actual clock on top of the drawing I made to design the new parts with. You can also see the tape I used to position the bottom potence with.

Lining up the top potence–it has to be right in the center.

I used a piece of tape to draw the correct positions on the actual clock. Then I could mark the place for the screw hole accurately.
Ready to put the pieces on to the clock now except there are no threaded holes to accept the screws. Perhaps you are beginning to understand why it takes a whole week to do this–at least when it is the first time you have ever done it. So another timeout while I go off and make a tap. I made the tap in the same way that I made the screws except the tap is left quite hard so that it will stay sharp as it cuts. Tempering steel is topic that I might cover in another post but suffice to say that you can make steel very, very hard or not very hard and lots of places in between. If it is too hard it will beak very easily, so you want screws to be not hard or they will snap off when you tighten them. A tap on the other hand may snap (and many do–I have snapped a few myself) but they can’t be too soft or they will dull very quickly as you try to cut with them.
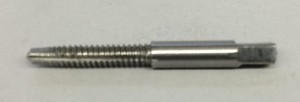
I made this tap using a screw plate as a pattern. It is fun to make almost every part of a clock including the tools needed.
Using my tap to put threads into the top potence.
Now we can put these pieces in place.
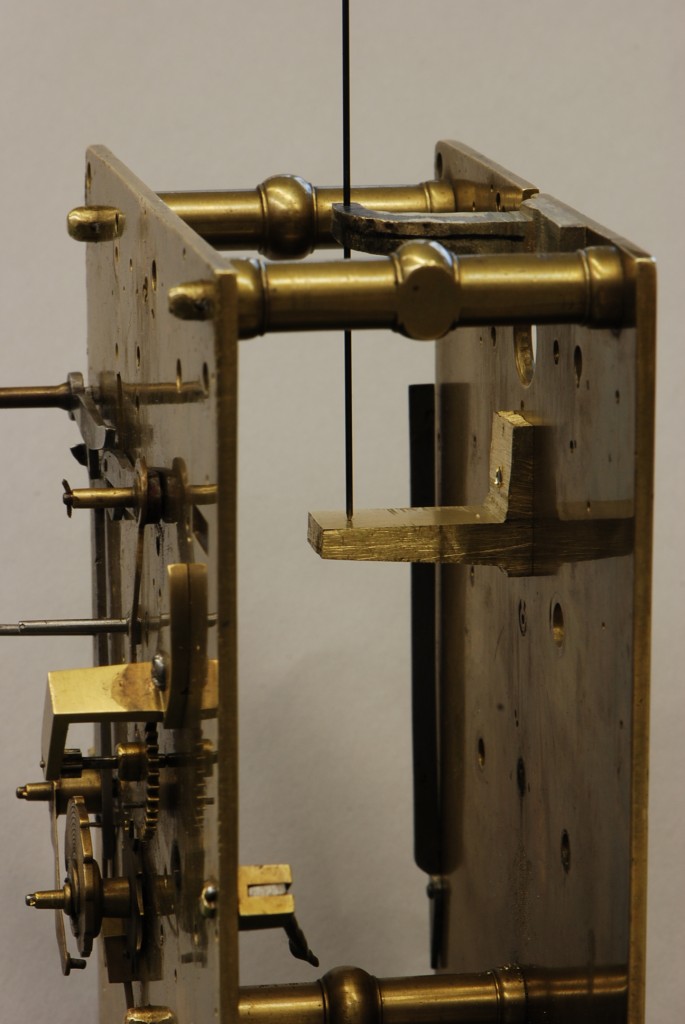
The top and bottom potence in place.
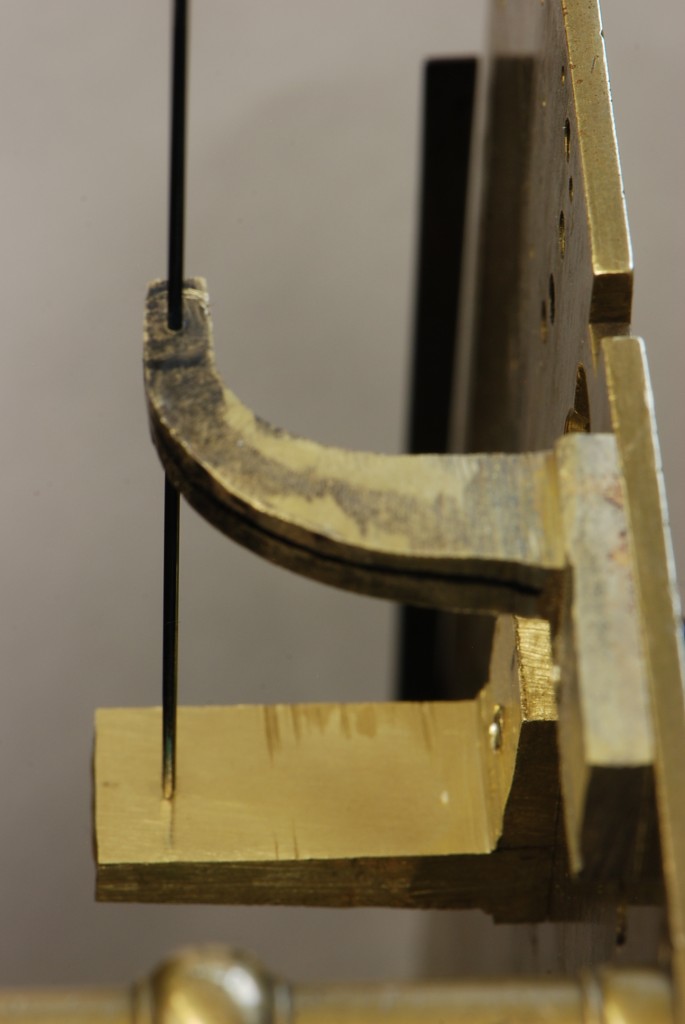
That piece of black wire is pretending to be the arbor of the crown wheel. It sits on top of the bottom potence and is held in position by the top potence.
In addition to all of the above work, we started off with the official Masters programme this week–afternoon classes that run until 7:00 PM. In addition to a thesis we have a whole boat load of work that is required, including two essay questions (not short ones either) and an oral presentation. Well, no one said it was going to be easy–I now believe they are really after training you to be a conservator.
Stay tuned to see this verge reconversion come together.
cheers,
2 comments
Incredible!
FASCINATING Mostyn. Thank you for sharing your beautiful work