This is Part 3 in my story of a verge re-conversion. In my last blog about this project, “What’s a Potence?“, I described making some of the important supporting parts for the wheels. In this blog we are going to take a step back and describe what happened after the Precision Operation. The center wheel needed a new pivot and it also needed a new wheel because the wheel that was in place did not have the right number of teeth for the verge configuration and it was not the original wheel–it had been replaced sometime in the past, most likely when the clack had been modified to take the new escapement. This new wheel was made in the then new style, that is, the teeth were shorter and spaced more closely together. Clocks in the early 1700s had different shaped teeth so this was another reason to make a new center wheel–I need to create new parts that look more consistent with a style appropriate to the era it was made. The challenge here was that the cutters made now are of a newer shape, so how to get the shape of older teeth.
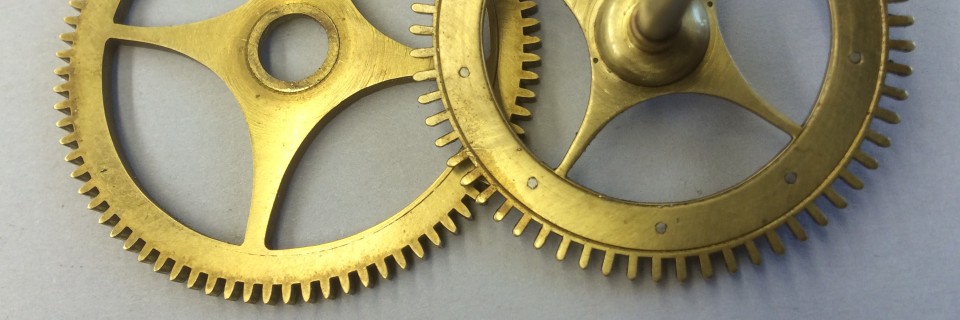
Can you see the difference in the shape ans spacing f the teeth on these two wheels. The one on the left is the newer wheel that I am replacing, whist the one on the right is an original wheel from the striking train. The wheel I am making should have teeth that look more like this.

The right cutter is selected to give the desired shape tooth. Then, by means of a indexing plate, the wheel is moved around in exact settings 84 times so that each tooth can be cut. The tooth depth is set by moving the cutter in slowly and recutting until there is no land left on the tooth top. You can see the first few tries in the picture until the depth gets just right.
After cutting out a circle of cast brass and hammer hardening it, I faced it off to the right thickness–the next step was to cross it out and put in onto the wheel. Crossing out is harder than it seems but it not too bad once you have developed some filing skills. I will have to wait to show you that process. But now, before I can put the center wheel on the arbor, I have to make a collet to mount it on. The collet is also made of a piece of cast brass–start with a round piece and cut it to the approximate size needed.
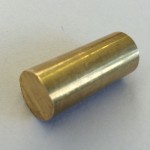
Cast brass rod for shaping into a collet.
The collet is roughed out and ready to solder onto the arbor.
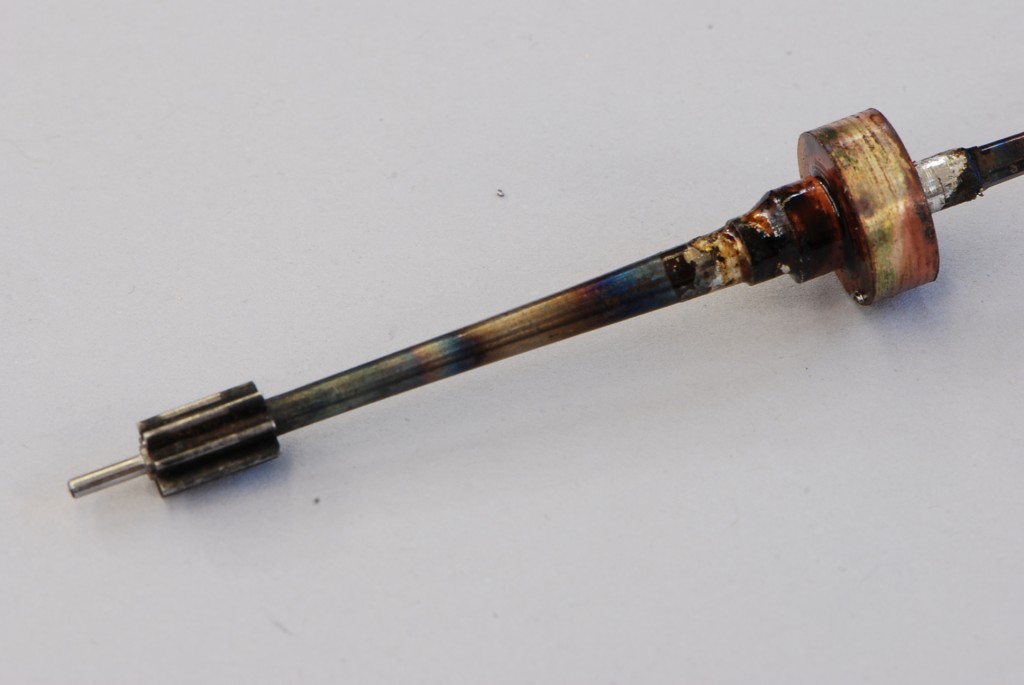
The arbor looks kind of ugly after soldering on the collet–but not to worry, it will all get cleaned up.
Then shape the top end into a cone so that the the wheel just fits over it. Once you have this, you can just skim off brass lightly until the wheel can be pushed completely onto the collet with a tight hand fit. This lets me put the wheel into the clock and test it later with the next wheel in the train to make sure that they work well together.
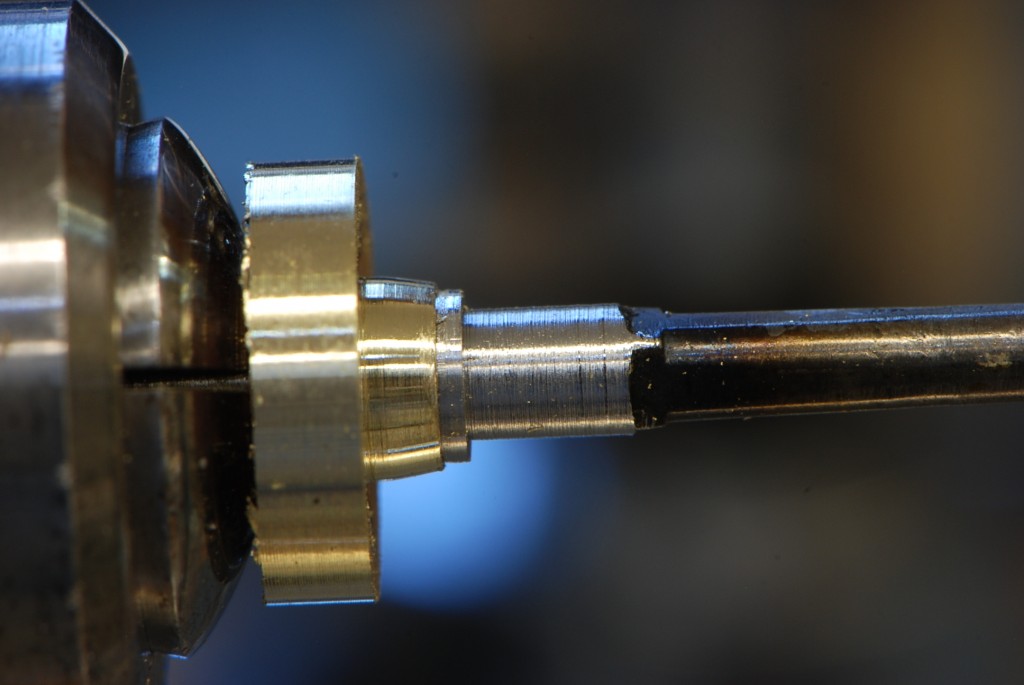
A cone shape ready to accept the wheel.
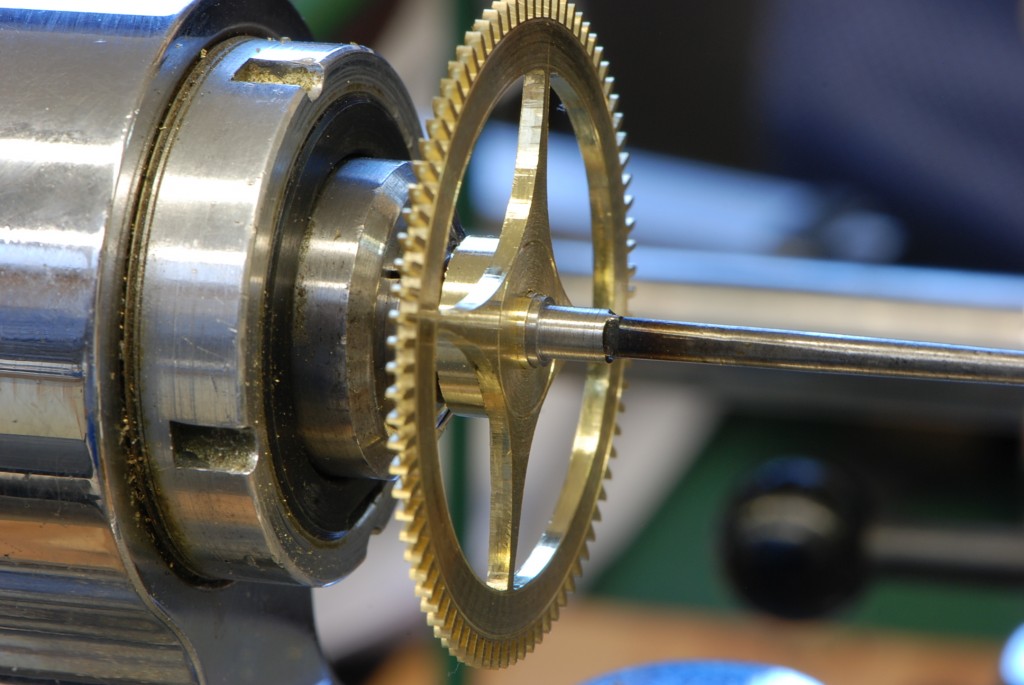
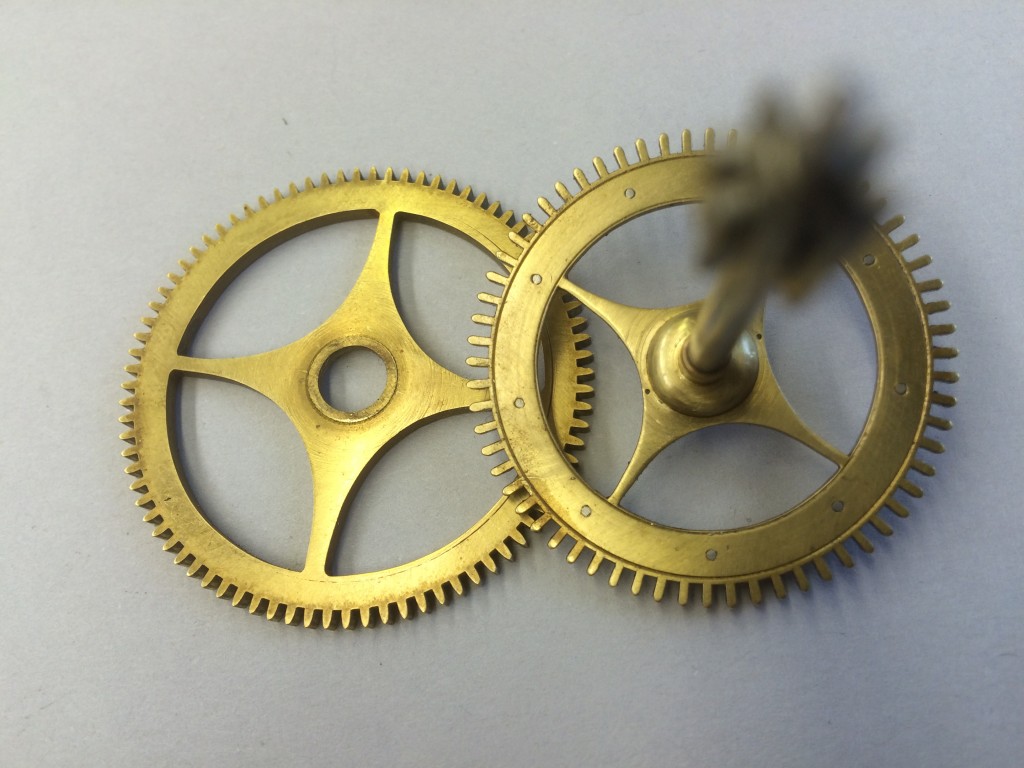
The wheel fits perfectly onto the collet. Note that the wheel has been crossed out–meaning that the extra brass has been cut away out of the center to create spokes.
Stay tuned for more progress on this clock.
cheers,
4 comments
Skip to comment form
Beautiful work, Mostyn, and your description of what you are doing is so clear too.
You give nice detail and great photos for the process….intriguing, even if it speaks a different language than I understand. Great work! Congrats! Miss you two!!!!
I so admire your zeal in preserving the period. The photos are great! I can really use coaching in proper shaping with a file. Of course you must also imbue me with the patience for it.
Best regards, Ginger N.
Author
Hi Ginger,
Thanks for reading – yes, patience is key!
MG