Hi Friends,
It has been a very long time since I have posted but I hope that you can appreciate how busy things have been and cut me some slack for that. In addition to having our kids here for a month–which Debbie described for you in the last post–I have had a 4000 word essay, two presentations, research, testing and a lot of bench work to do. It has been extremely busy but fun all the same.
In addition to learning about clock work, we are privileged to learn some of the related skills. In the last month we have had two, two-day classes on gilding and engraving. These are very fun and worthwhile classes taught by world experts. During the engraving class we learned many other little things as well just “on the side”. One of the extras was how to make a “desk tidy.” This word, Desk Tidy, is both a noun and a description of what the item does for you, it makes your desk tidy! So get a blank piece of paper and here we go –
First, lightly fold the paper in half in both directions and then open it back up again. These are just creases to help guide future folds, so don’t crease them very hard.
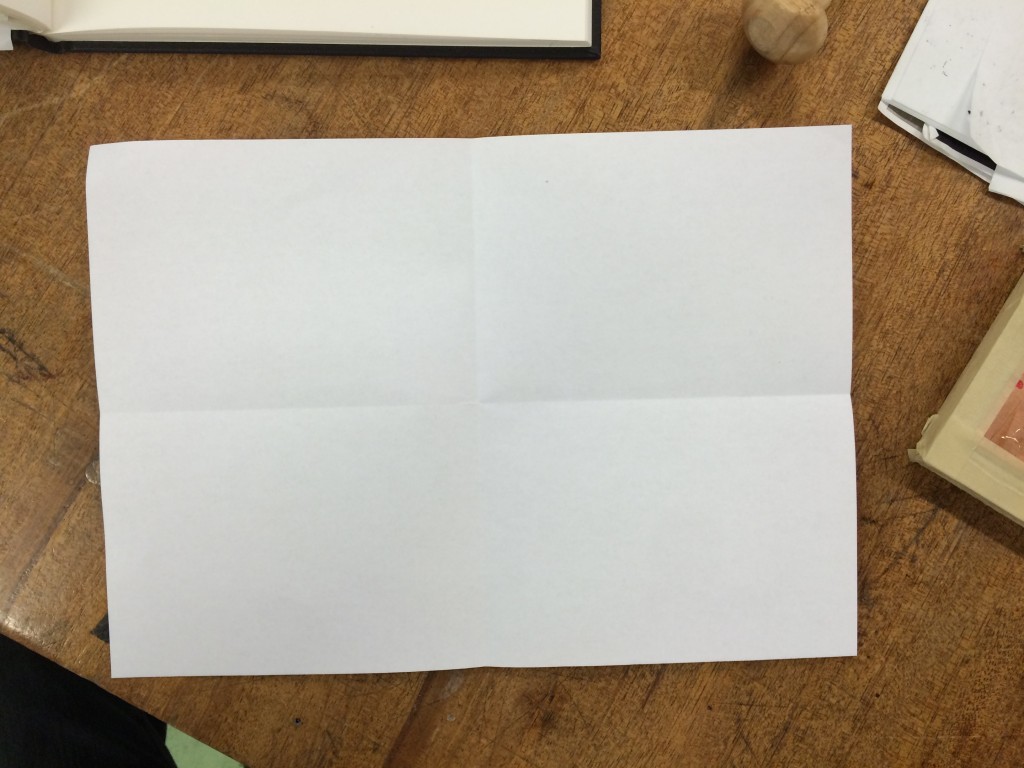
Fold the paper in half both ways.
Next, fold the left and right ends into the middle. These are final folds so give them a good crease.
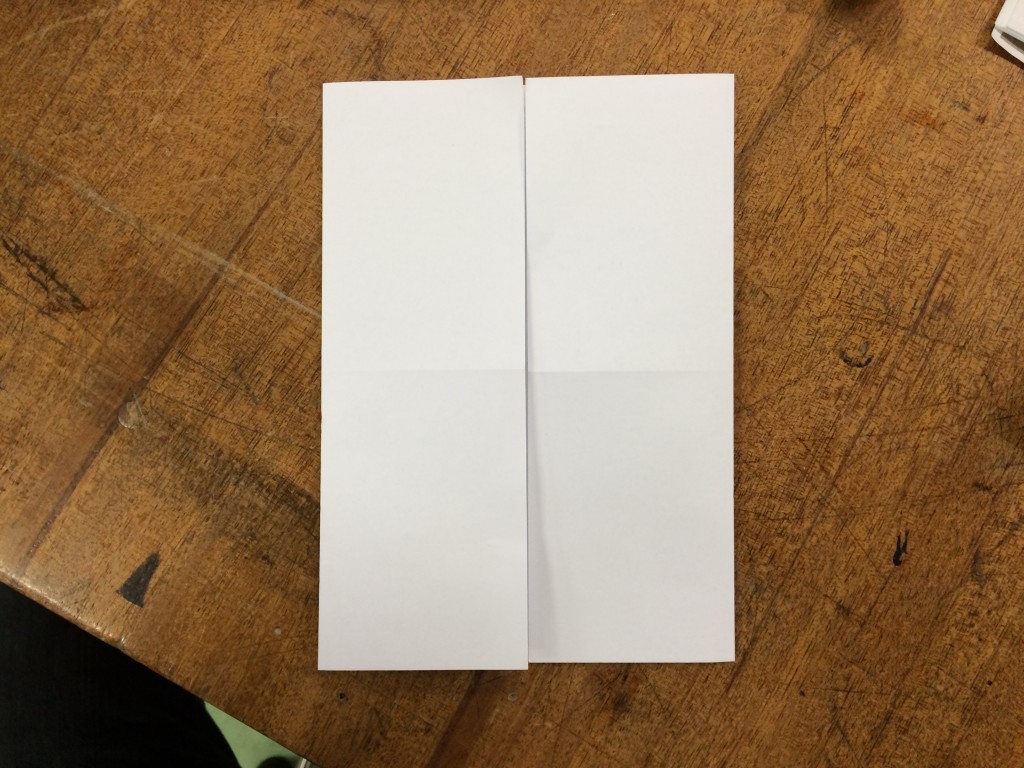
Fold the left and right ends into the middle.
Now, fold the top and bottom into the middle. Give them a good crease as well.
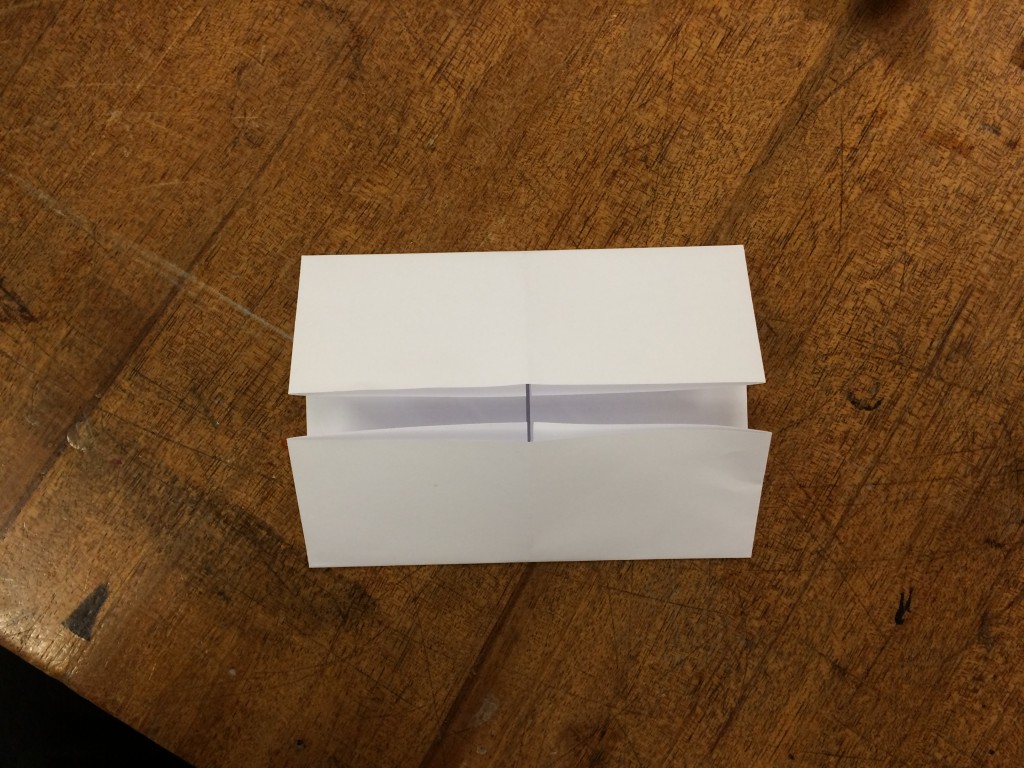
Fold the Bottom and top into the middle. Give them a good crease.
Next, open the top and bottom and fold the corners in.
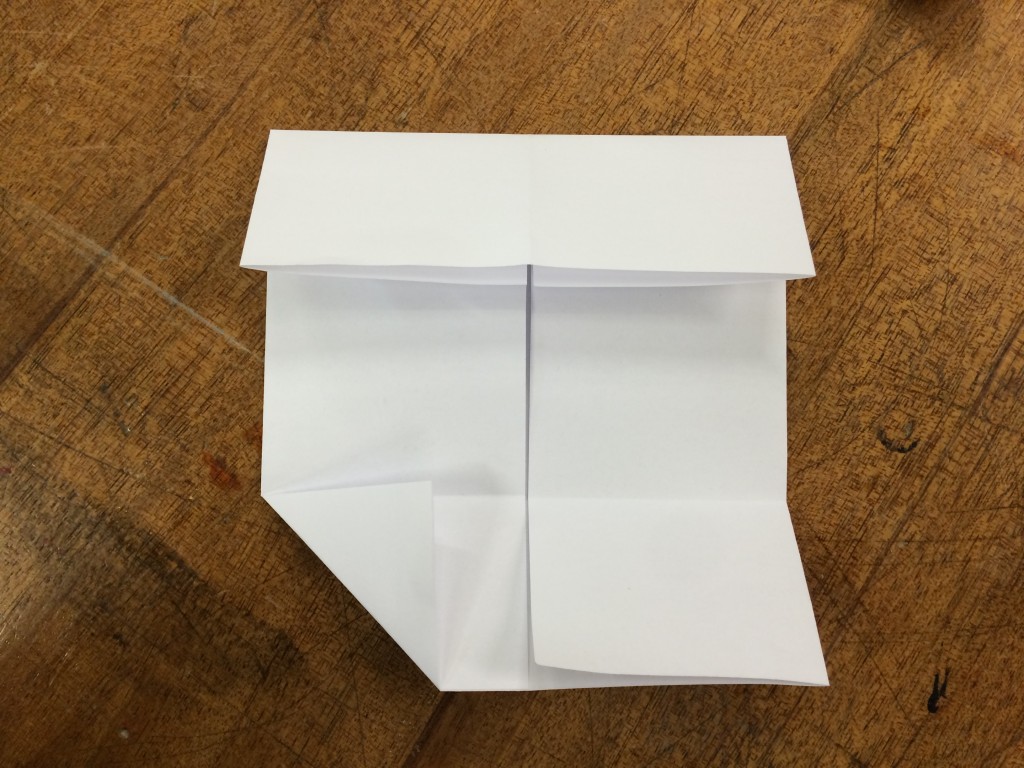
Fold the corners in like this.
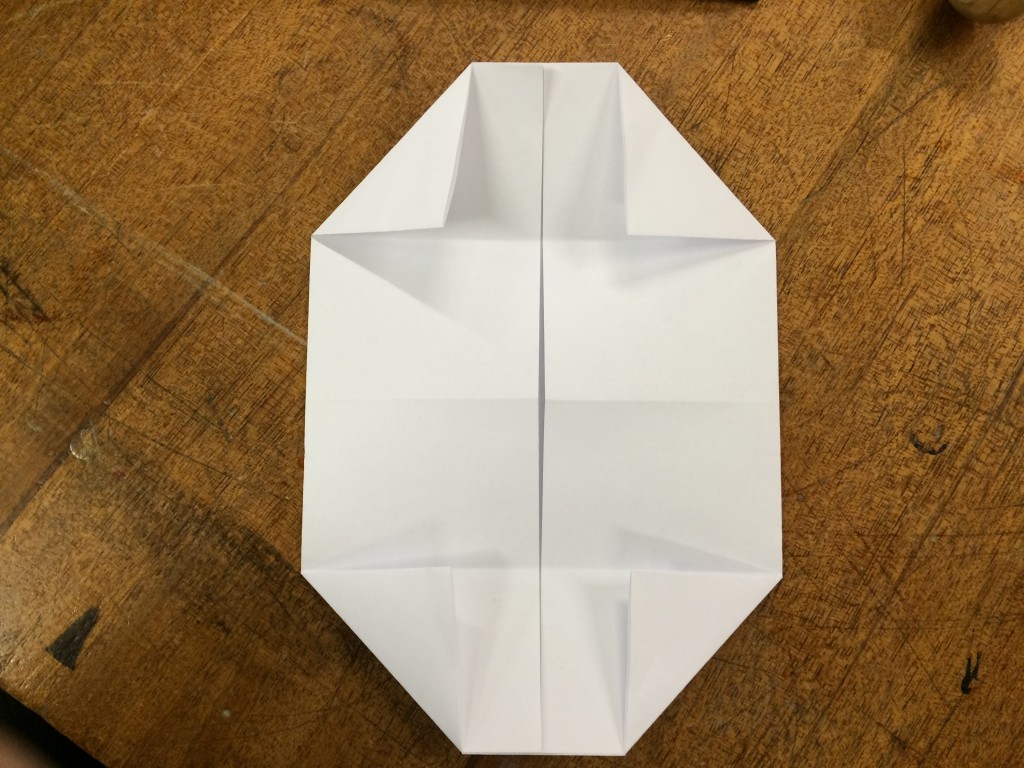
Here’s what it should look like with all four corners folded.
Now, take the center flaps and fold them back over the corners. Give these a good crease.
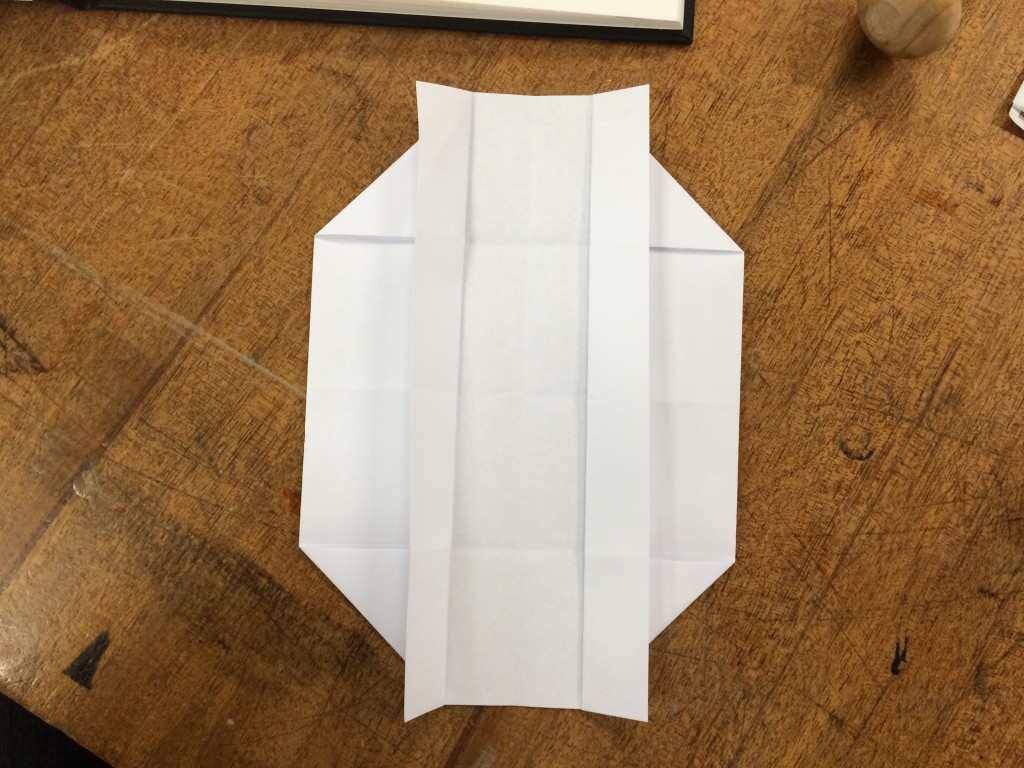
Fold the center flaps over the corners.
Finally, (almost there) pull those center folds up and out to the sides. You should start to see your box take shape.
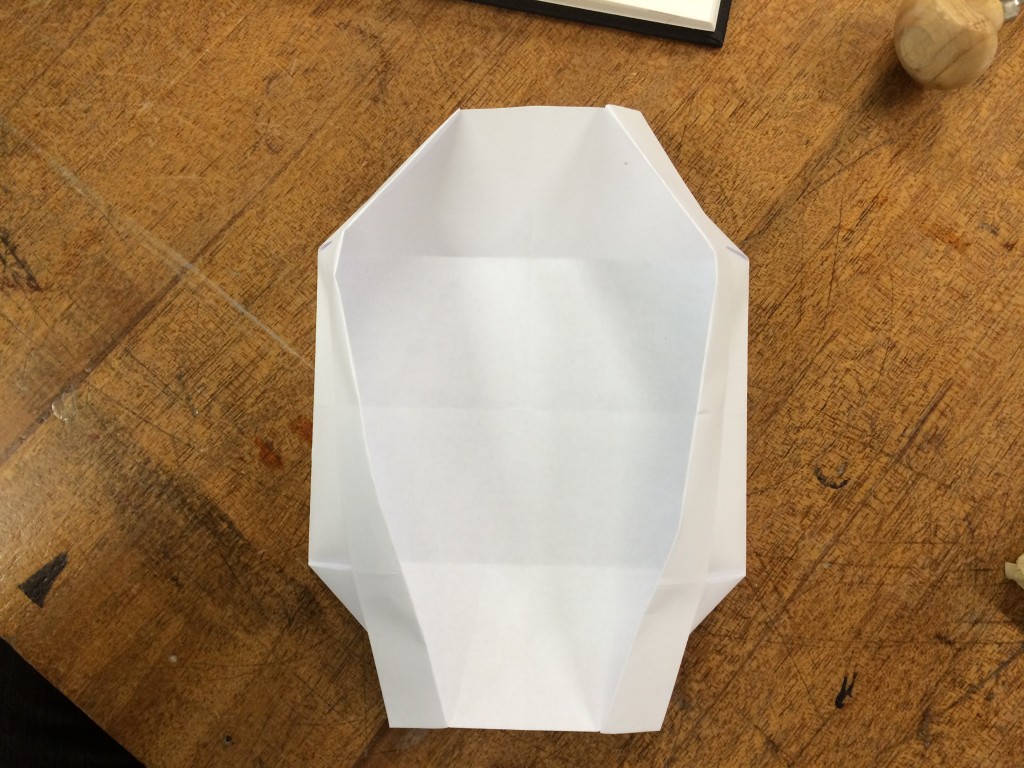
Pull the center flaps up and out to the side.
Keep pulling these and shaping the box–you’ll have to crease the corners. Give some extra creases to get it to form nicely and – there’s your desk tidy! Now put all that junk that you have laying on your desk into the box and keep your desk tidy!
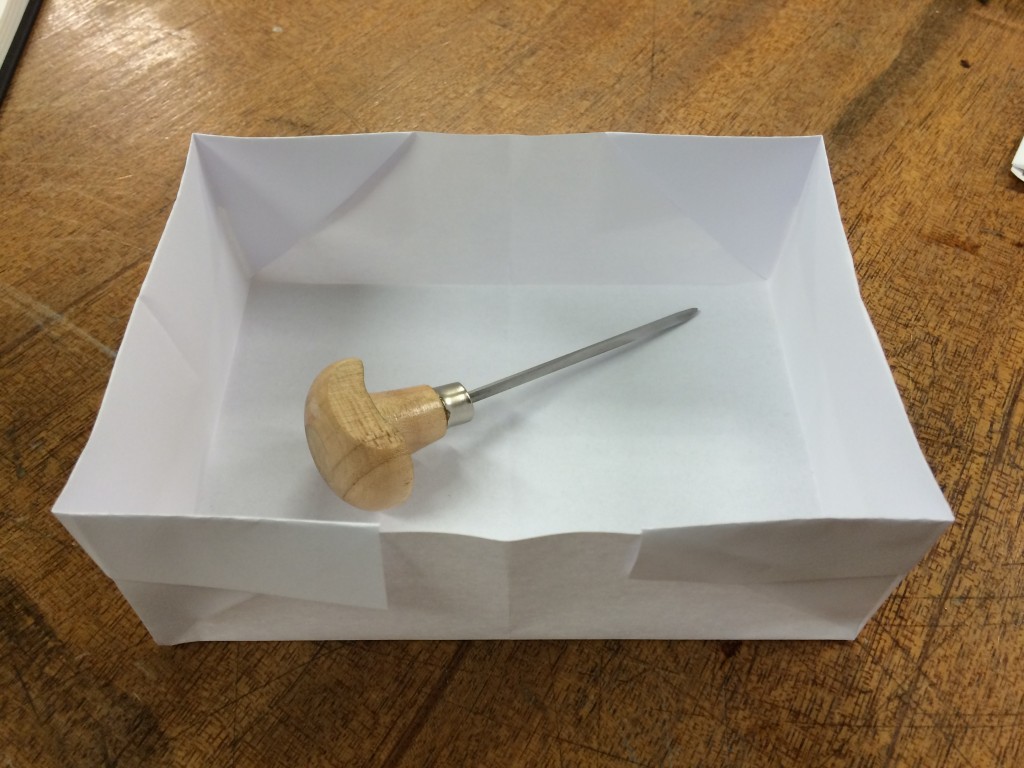
Keep your desk tidy!
Next time, I will get you up to speed on my clock project.
cheers,

3 comments
Cool! as they say;
“If a cluttered desk is a sign of a cluttered mind, of what, then, is an empty desk a sign?”
Albert Einstein
Cheers, 😉
Come home. My desk’s a mess!
Mostyn,
I think that this proves your point, you are working too hard! That said, I made one of your baskets out of thin sheet plastic and it turned out great. Very durable.
Looking foreword to your return to the states.
Ken